
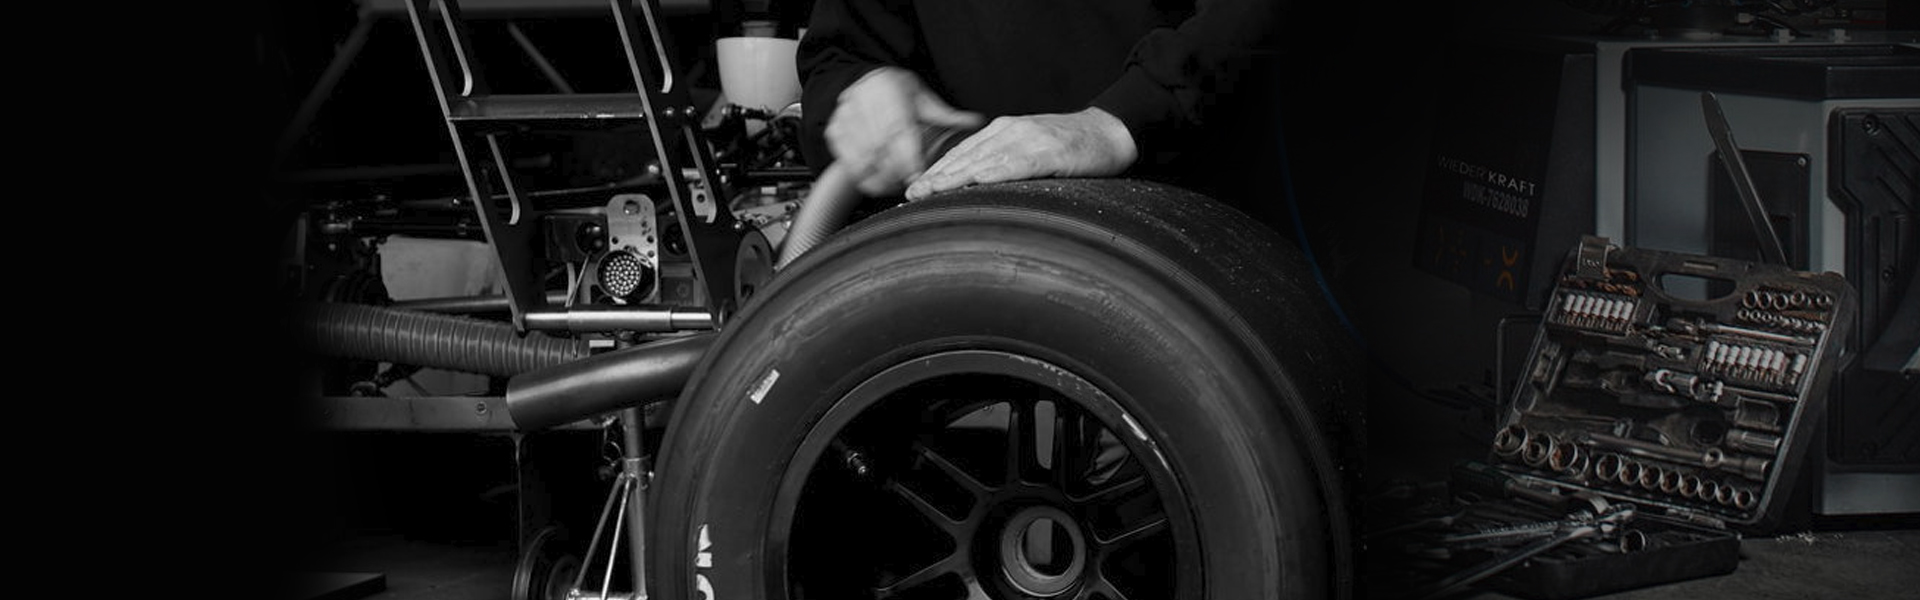

Stick-on wheel weights are essential for wheel balancing, helping to minimize vibrations and enhance driving comfort. Their adhesive design makes them particularly suitable for custom wheels. As a key component in car maintenance, the demand for stick-on wheel weights is on the rise, with the global market for wheel balancing weights expected to reach $1,070 million by 2033.
Key Takeaways
- Stick-on wheel weights balance wheels, lower vibrations, and make driving smoother. They work well for custom wheels because they stick on easily.
- The wheel surface must be clean and dry to stick properly. Clean the wheel with rubbing alcohol or a gentle cleaner before adding weights.
- Check stick-on weights often for damage or if they’re loose. Replace missing weights quickly to keep wheels balanced and rides smooth.
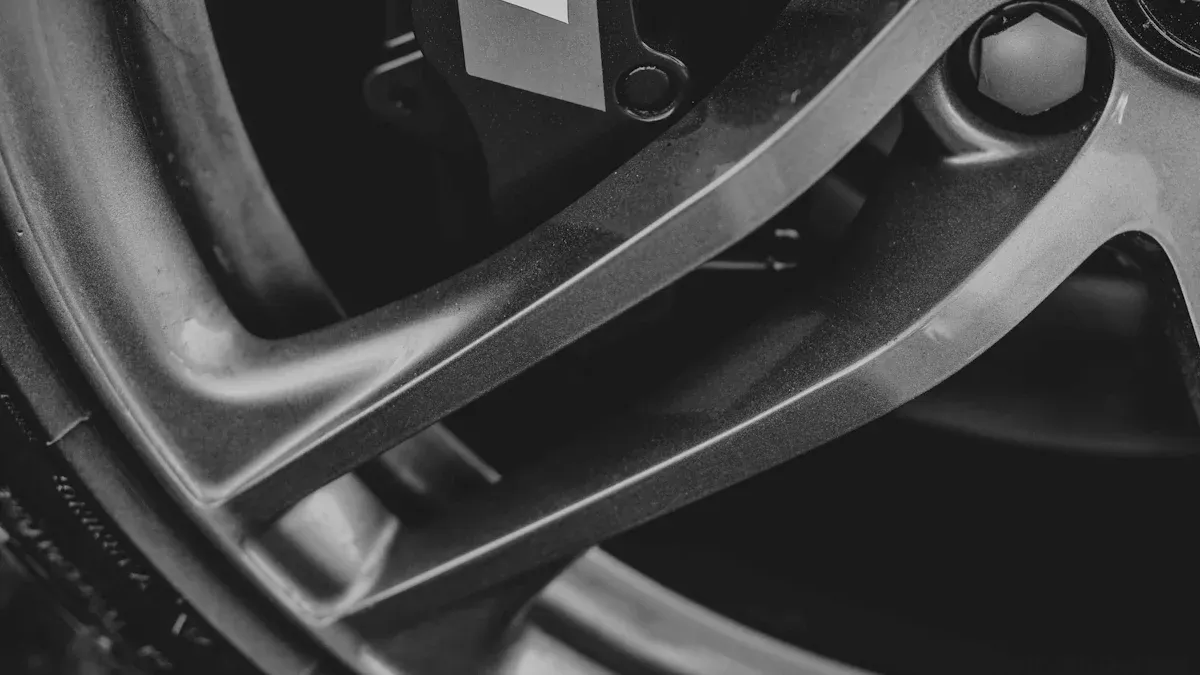
What Are Stick On Wheel Weights?
Purpose and Functionality
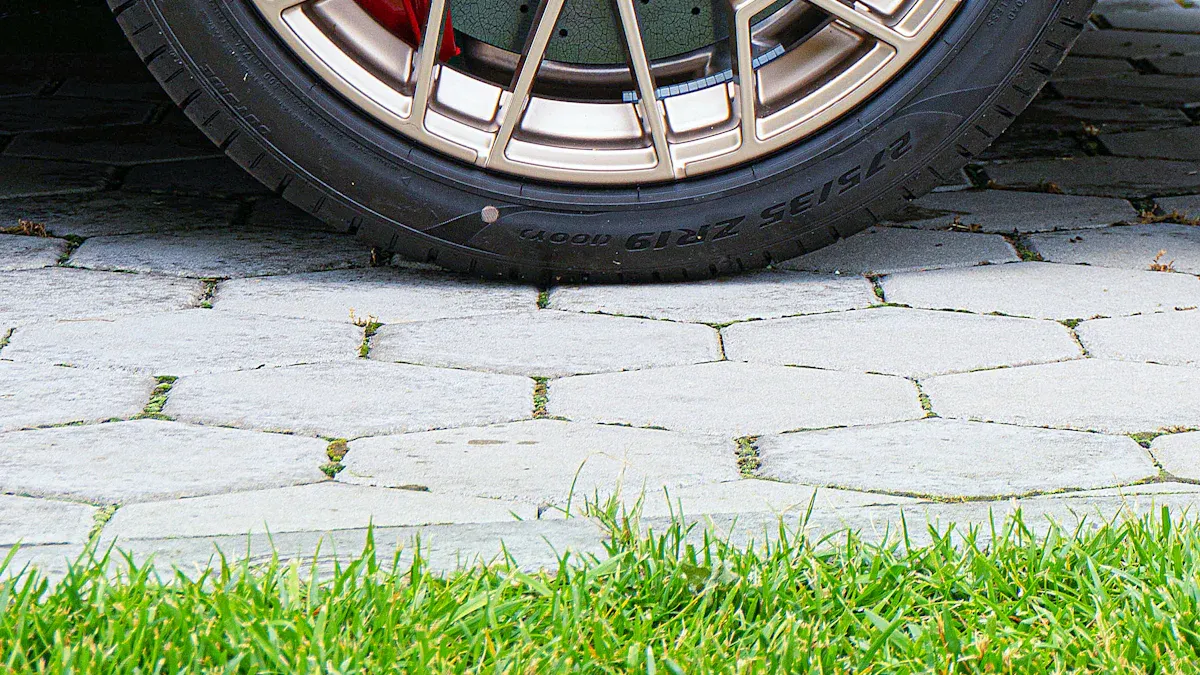
Stick on wheel weights play a crucial role in maintaining vehicle performance. They are designed to balance wheels by counteracting uneven weight distribution. This reduces vibrations and ensures a smoother ride. I often recommend these weights for their precision and ease of application. Unlike traditional clip-on weights, stick-on weights adhere directly to the wheel surface, offering a seamless and effective solution.
To illustrate their functionality, let me share some technical details:
| Feature | Description |
|---|---|
| Type | 3M Wheel Weight PN61405 |
| Dimensions | 4mm x 23mm |
| Material | Lead-free, flexible, conformable weight |
| Application | Balances tires effectively |
| Environmental Impact | Less impact than traditional lead weights |
| Corrosion Resistance | Corrosion and stain-free |
These features highlight the advanced design of stick on wheel weights, making them a reliable choice for both professionals and DIY enthusiasts.
Advantages Over Clip-On Weights
Stick on wheel weights offer several advantages over their clip-on counterparts. First, they eliminate the risk of damaging alloy or custom wheels during installation. Second, they provide a cleaner aesthetic, blending seamlessly with the wheel's design. I find that their versatility allows them to replace multiple clip-on weights, simplifying the balancing process.
Here are some additional benefits:
- High-profile design, cut to exact lengths for better balance.
- Superior performance due to 3M Attachment Tape.
- Enhances vehicle appearance while protecting expensive wheels.
- Easy application for accurate wheel balancing.
These advantages make stick on wheel weights a preferred choice for modern vehicles, especially those with custom or dark-colored wheels.
Materials and Environmental Benefits
The materials used in stick on wheel weights have evolved to meet environmental standards. Manufacturers now use lead-free alternatives like zinc and composites. These materials comply with regulations such as the EU's REACH and California’s Proposition 65. I appreciate how these innovations reduce environmental impact while maintaining performance.
Consider these key points:
- Approximately 70% of EU countries are moving towards banning lead-based products.
- Safer adhesive formulations meet both performance and regulatory standards.
- Zinc and composite materials offer durability and eco-friendliness.
By choosing stick on wheel weights, you contribute to a greener future without compromising on quality or functionality.
Tools and Materials Needed for Installation
Installing stick-on wheel weights requires a few essential tools and materials. I always recommend gathering everything beforehand to streamline the process and ensure precision.
Adhesive-backed stick-on wheel weights
The weights themselves are the centerpiece of this installation. These adhesive-backed weights come in various sizes and materials, such as zinc or composite, which comply with environmental standards. Their flexibility allows for easy customization, ensuring a perfect fit for any wheel type.
Wheel cleaner or rubbing alcohol
A clean wheel surface is critical for proper adhesion. Based on cleaning agent studies, I find rubbing alcohol effective for general cleaning, though acidic wheel cleaners excel at removing stubborn grime like brake dust and rust.
| Cleaning Agent | Effectiveness Description | Risks and Considerations |
|---|---|---|
| Acidic Wheel Cleaners | Highly effective at removing brake dust, rust, and mineral deposits from wheels. | Can damage wheel finishes if not used properly; requires caution and protective gear during application. |
| Rubbing Alcohol | Generally used for disinfecting and cleaning surfaces but less effective on heavy grime. | May not effectively remove stubborn contaminants compared to acidic cleaners. |
Clean cloth or microfiber towel
I always use microfiber towels for cleaning wheels. Their advanced fabric technology ensures efficient dirt capture and streak-free drying.
- Efficiency in Cleaning and Drying:
- Increased surface area traps dirt and grease effectively.
- Absorbs up to eight times its weight for quick drying.
- Reduction in Scratches and Swirl Marks:
- Plush fibers protect the wheel’s finish.
- Split fibers lock dirt particles, preventing surface damage.
Masking tape (optional)
Masking tape can help mark the imbalance point on the wheel during the balancing process. While optional, it simplifies weight placement and ensures accuracy.
Wheel balancer or balancing machine
Precision is key when balancing wheels. I rely on advanced wheel balancers equipped with features like ±1g accuracy and laser-guided placement. These machines detect even the smallest imbalances, ensuring a smooth driving experience.
| Feature | Specification |
|---|---|
| Balancing Precision | ±1g |
| Measuring Time | 8 sec |
| Max Wheel Diameter | 32" |
| Max Wheel Weight | 200 kg |
By using these tools and materials, I can achieve a professional-grade installation that enhances vehicle performance and driving comfort.
Step-by-Step Guide to Installing Stick On Wheel Weights

Step 1: Clean the Wheel Surface Thoroughly
Cleaning the wheel surface is the foundation of a successful installation. I always start by removing dirt, grease, and debris from the wheel using a wheel cleaner or rubbing alcohol. This ensures the adhesive on the stick on wheel weights bonds securely.
To clean effectively:
- Spray the cleaner evenly across the wheel surface.
- Use a microfiber towel to wipe away contaminants.
- Focus on areas where weights will be applied.
A clean and dry surface prevents the weights from peeling off prematurely. I recommend inspecting the wheel under good lighting to confirm no residue remains.
Step 2: Identify the Imbalance Point Using a Balancer
Locating the imbalance point is critical for proper wheel balancing. I use a wheel balancer to pinpoint where the stick on wheel weights should go. The machine spins the wheel and calculates the exact location of the imbalance.
Here’s how I approach this step:
- Place the wheel on the balancer and secure it.
- Start the machine and let it analyze the wheel’s rotation.
- Note the imbalance point displayed on the screen or marked by the machine.
This step ensures the weights are positioned accurately, optimizing the wheel’s performance.
Step 3: Measure and Cut the Weights (if necessary)
Stick on wheel weights come in strips or segments, allowing customization. I measure the required weight based on the balancer’s reading and cut the strip to the appropriate length.
Steps for cutting:
- Use a ruler or measuring tool to determine the needed weight.
- Cut the strip carefully with scissors or a utility knife.
- Double-check the measurement to avoid errors.
Precise cutting ensures the weights fit perfectly and balance the wheel effectively.
Step 4: Peel Off the Backing and Stick the Weights
Once the weights are ready, I peel off the adhesive backing and apply them to the marked imbalance point. This step requires steady hands and attention to detail.
Tips for sticking the weights:
- Align the weight with the imbalance point.
- Press the weight firmly onto the wheel surface.
- Avoid touching the adhesive side to maintain its stickiness.
Proper placement is essential for achieving a balanced wheel and smooth driving experience.
Step 5: Press Firmly to Ensure Proper Adhesion
After sticking the weights, I press them firmly to secure the bond. Applying consistent pressure across the weight ensures it adheres evenly to the wheel surface.
Here’s my method:
- Use your fingers or a flat tool to press the weight.
- Apply pressure for 10-15 seconds.
- Check for any loose edges or gaps.
This step prevents the weights from shifting or falling off during use.
Step 6: Recheck the Balance for Accuracy
The final step is to verify the wheel’s balance. I place the wheel back on the balancer and run another test. If the machine indicates no imbalance, the installation is complete.
Steps for rechecking:
- Mount the wheel on the balancer again.
- Spin the wheel and observe the results.
- Adjust or add weights if necessary.
Rechecking ensures the stick on wheel weights are correctly installed and the wheel is perfectly balanced.
Tips for Proper Installation of Stick On Wheel Weights
Ensure the Wheel Surface is Clean and Dry
I always emphasize the importance of surface preparation when installing stick on wheel weights. A clean and dry wheel surface ensures the adhesive bonds securely, preventing the weights from detaching over time. I start by cleaning the rim area with a solvent or rubbing alcohol to remove dirt, grease, and brake dust. Afterward, I dry the surface thoroughly using a microfiber towel. This step eliminates any moisture that could weaken the adhesive.
For best results, I follow these steps:
- Spray a cleaning agent evenly across the rim.
- Wipe the surface with a clean towel, focusing on areas where weights will be applied.
- Inspect the rim under good lighting to confirm it is spotless and dry.
Skipping this step can compromise the installation, so I never overlook it.
Avoid Overloading the Wheel with Excess Weights
Using the correct amount of weight is crucial for effective wheel balancing. I rely on precision balancing equipment to determine the exact weight needed. Overloading the wheel with excess weights can lead to uneven performance and unnecessary strain on the adhesive.
Here’s how I ensure proper weight selection:
- Measure the imbalance using a wheel balancer.
- Choose the appropriate weight based on the machine’s reading.
- Cut the weight strip to the required length if necessary.
This approach guarantees that the wheel remains balanced without adding unnecessary bulk.
Allow Adhesive to Cure Before Driving
After applying the weights, I always allow the adhesive to cure properly. This step ensures the weights stay firmly in place, even under high-speed conditions. I recommend waiting at least 24 hours before driving, especially in extreme weather conditions.
To maximize adhesion:
- Press the weights firmly onto the rim for 10-15 seconds during installation.
- Avoid exposing the vehicle to water or extreme temperatures immediately after application.
Patience during this curing period pays off by ensuring long-lasting results.
Maintaining Stick On Wheel Weights for Long-Term Use
Inspect Regularly for Looseness or Damage
I always recommend inspecting stick on wheel weights periodically to ensure they remain secure and effective. Over time, exposure to road debris, water, and temperature changes can weaken the adhesive or cause damage. During routine vehicle maintenance, I check for any signs of looseness or wear.
Here’s a quick checklist I follow during inspections:
- Examine the weights for cracks, chips, or peeling edges.
- Check the surrounding wheel surface for dirt buildup or corrosion.
- Confirm that the weights are still firmly attached by gently pressing on them.
Regular inspections help identify potential issues early, preventing further imbalance or damage to the wheel.
Avoid Using Harsh Chemicals During Cleaning
When cleaning wheels, I avoid harsh chemicals that could degrade the adhesive on stick on wheel weights. Acidic cleaners, while effective at removing grime, can weaken the bond over time. Instead, I use mild wheel cleaners or rubbing alcohol to maintain both the weights and the wheel’s finish.
For safe cleaning, I follow these steps:
- Spray a gentle cleaner onto the wheel surface.
- Wipe with a microfiber towel to remove dirt and brake dust.
- Rinse thoroughly with water to eliminate any residue.
This approach keeps the weights intact while preserving the wheel’s appearance.
Replace Missing or Damaged Weights Promptly
If a weight becomes loose or falls off, I replace it immediately to maintain proper wheel balance. Driving with missing weights can lead to uneven tire wear, reduced fuel efficiency, and increased vibrations. Using a wheel balancer, I identify the imbalance point and install a new weight to restore performance.
During replacement, I also inspect other vehicle components, such as brake disks, hoses, and auxiliary drive belts, to ensure everything is in optimal condition. This comprehensive approach enhances safety and prolongs the life of the wheels.
Stick on wheel weights provide a simple yet effective way to balance wheels and enhance driving performance. By following this guide, you can install them with confidence and achieve long-lasting results. Regular inspections and proper maintenance will ensure your wheels stay balanced, delivering a smooth and enjoyable ride every time.
FAQ
How do I know if my wheels need balancing?
I check for signs like vibrations, uneven tire wear, or steering issues. A wheel balancer confirms if balancing is necessary.
Can stick-on weights be reused after removal?
No, I recommend replacing them. The adhesive loses effectiveness after removal, compromising proper adhesion and balance.
Are stick-on weights suitable for all wheel types?
Yes, they work well on alloy, custom, and steel wheels. Their adhesive design ensures compatibility with various surfaces.
Post time: Apr-27-2025
