
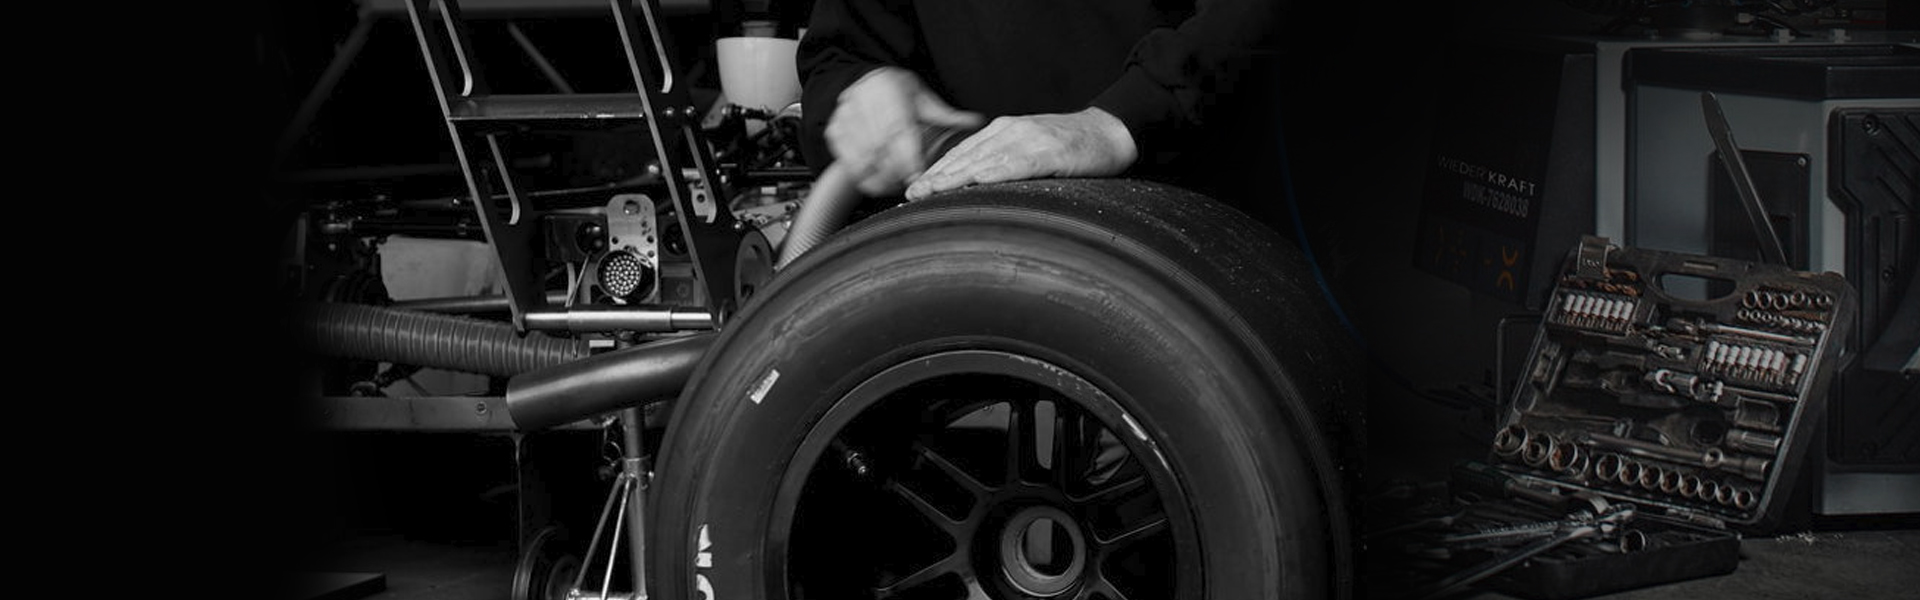

Metal bolt-in tire valves are critical components in commercial vehicle tire systems, providing reliable air pressure retention and monitoring capabilities for heavy-duty applications. This comprehensive installation guide covers the complete process for properly installing metal bolt-in valves, from preparation through final verification, ensuring optimal performance and safety in fleet operations.
Understanding Metal Bolt-In Tire Valves
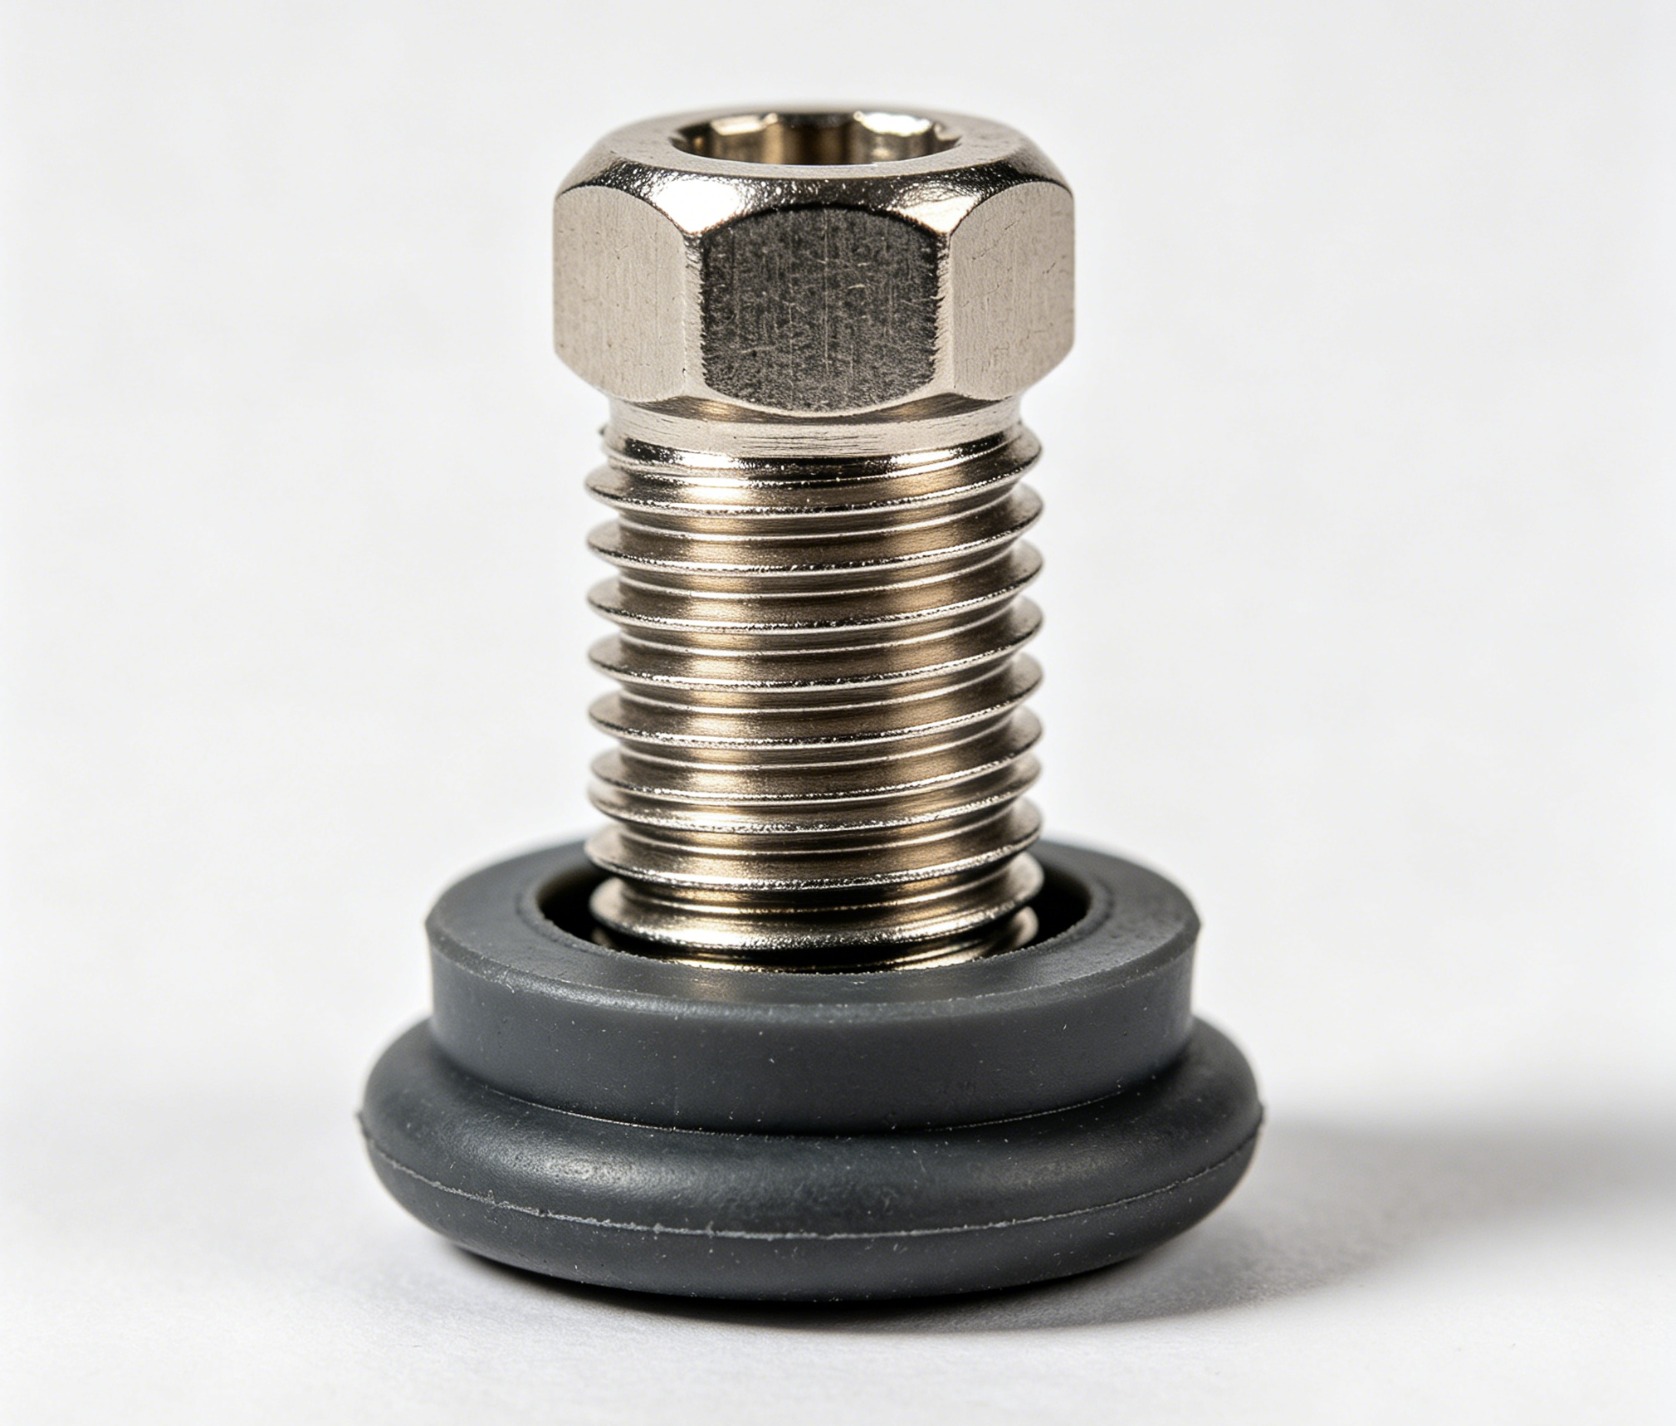
Metal bolt-in tire valves differ from standard rubber snap-in valves in their construction and application. These valves feature a brass or steel body that bolts directly into the wheel hub, providing superior sealing for high-pressure applications. According to industry standards, metal bolt-in valves are rated for pressures up to 200 PSI, making them essential for commercial trucks, trailers, and heavy equipment tires. The solid metal construction eliminates the risk of valve stem fatigue that affects rubber alternatives over extended service periods.
These valves serve dual functions in modern tire monitoring systems. First, they maintain the air seal within the tire cavity under varying temperature and pressure conditions. Second, they provide the attachment point for tire pressure monitoring system (TPMS) sensors in vehicles equipped with such technology. The bolt-in design ensures consistent sensor positioning and reliable signal transmission throughout the valve’s service life.
Tools and Materials Required
Gathering the correct tools before beginning the installation process prevents workflow interruptions and ensures a professional result. The following equipment is essential for metal bolt-in valve installation.
- Bolt-in valve core removal tool with appropriate socket size
- Torque wrench calibrated to specification (typically 8-12 lb-ft)
- Valve core installer tool
- Clean, lint-free cloth for surface preparation
- Approved thread sealant or Teflon tape rated for high pressure
- Replacement valve cores (if reusing existing components)
- Safety glasses and work gloves
- Tire pressure gauge with 0-250 PSI range
The quality of tools directly impacts installation outcomes. Professional-grade torque wrenches ensure consistent tightening, reducing the risk of either undertightening (causing leaks) or overtightening (damaging threads). Many installers follow ISO quality management principles by using calibrated, traceable equipment for safety-critical work.
Pre-Installation Wheel Inspection
Before installing a new metal bolt-in valve, thoroughly inspect the wheel assembly for conditions that could compromise the seal. Examine the valve mounting hole in the wheel for cracks, corrosion, or deformation that might prevent proper seating. Remove any accumulated debris, old sealant residue, or corrosion products from the valve seat area using a wire brush or appropriate cleaning tool.
Check the valve hole diameter against manufacturer specifications. Standard metal bolt-in valves require specific hole sizes, typically ranging from 0.453 to 0.625 inches depending on the valve model. Mismatched hole sizes result in improper sealing and premature failure. Document any wheel damage found during inspection, as compromised wheels should be removed from service per fleet maintenance protocols.
Step-by-Step Installation Process
The following systematic approach ensures reliable valve installation across various metal bolt-in valve configurations. Each step addresses specific conditions that contribute to long-term sealing performance.
- Deflate the tire completely before valve removal to eliminate spring tension on the valve body and prevent injury or rim damage.
- Remove the existing valve core using the appropriate removal tool, allowing any remaining air to escape fully.
- Clean the valve mounting hole interior with a lint-free cloth, removing all dirt, moisture, and old sealant.
- Apply manufacturer-approved thread sealant to the valve threads, using a thin, even coating that fills thread valleys without excess squeeze-out.
- Insert the new valve through the mounting hole, ensuring it seats fully against the wheel’s inner surface without binding.
- Hand-tighten the mounting nut initially to confirm proper alignment and thread engagement.
- Torque the mounting nut to specification using a calibrated torque wrench, typically 8-12 lb-ft for standard applications.
- Install the valve core using the core installer tool, tightening to finger-tight plus one-quarter turn.
- Apply thread sealant to the valve core cap and install securely to protect the valve core from contamination.
- Inflate the tire to recommended pressure and perform leak verification using soap solution or electronic leak detector.
Proper torque application is critical to sealing performance. Insufficient torque allows the valve to shift under pressure cycling, while excessive torque damages the valve body or wheel threads. Many automotive organizations reference torque specifications that align with quality assurance methodologies developed across manufacturing industries.
Valve Type Comparison
Understanding different metal bolt-in valve types helps maintenance personnel select appropriate components for specific applications. The following comparison outlines key characteristics of common valve configurations.
| Valve Type | Max Pressure | Material | TPMS Compatible | Common Application |
|---|---|---|---|---|
| Standard Bolt-In | 150 PSI | Brass | Yes | Light trucks, SUVs |
| High-Pressure Bolt-In | 200 PSI | Steel/Brass | Yes | Commercial trucks, trailers |
| Double-Chuck Valve | 175 PSI | Brass | Yes | Heavy equipment, agricultural |
| Extended Stem | 150 PSI | Brass | Yes | Dual-wheel applications |
Safety Considerations During Installation
Working with tire systems involves inherent hazards that require appropriate safety precautions. Always deflate tires completely before valve service to eliminate explosion risk from rapidly releasing pressurized air. Position yourself away from the valve opening during deflation to avoid debris ejection. Wear safety glasses throughout the installation process to protect against unexpected air releases or tool slippage.
Fleet operators should establish lockout/tagout procedures for tire service operations, ensuring that pressurized systems are properly depressurized before maintenance begins. Document all tire service activities per organizational safety protocols. Commercial vehicle maintenance often incorporates cybersecurity and operational safety frameworks that include physical maintenance procedures.
Post-Installation Verification
Verification procedures confirm proper installation and identify potential issues before the vehicle returns to service. Begin by checking inflation pressure using a calibrated gauge, comparing readings against manufacturer specifications for the specific tire and application. Normal pressure range typically falls between 80-120 PSI for most commercial vehicle tires.
Apply leak detection solution around the valve base, stem, and core cap area. Watch for bubble formation indicating air leakage. Electronic leak detectors offer greater sensitivity for pinpointing small leaks that soap solution might miss. Verify that the valve cap creates an airtight seal when hand-tightened, as the cap provides the final barrier against contamination and slow leaks.
Maintenance Schedule and Inspection
Regular inspection extends valve service life and prevents unexpected failures. Visual inspection should occur during routine tire pressure checks, examining the valve for signs of corrosion, damage, or improper positioning. Physical inspection includes checking cap tightness and verifying that no air is escaping from the valve core area.
Recommended inspection intervals vary by application and operating conditions. Highway service typically requires monthly visual inspection, while severe service applications such as construction or mining should receive weekly checks. Replace valve cores annually or whenever leakage is detected, whichever occurs first. Document all inspection results per fleet maintenance records requirements.
Troubleshooting Common Issues
Air leakage at the valve base often indicates improper torque during installation or damage to the valve seat area. Remove the valve and inspect for debris or damage before reinstalling. If the valve hole shows signs of corrosion or deformation, the wheel requires replacement rather than repair.
Valve core leakage typically stems from contamination preventing proper seating or from a damaged core. Replace the valve core with a new unit of the same specification. If leakage persists after core replacement, the valve body may be damaged and requires full valve replacement. Slow leaks sometimes result from improper cap installation rather than valve failure—always verify cap seating before assuming valve damage.
Frequently Asked Questions
How often should metal bolt-in tire valves be replaced?
Metal bolt-in valves typically last the life of the tire when properly installed. However, replacement is recommended during every tire change or at minimum every 100,000 miles for commercial applications to ensure optimal sealing performance.
Can I use rubber snap-in valve caps on metal bolt-in valves?
No, metal bolt-in valves require metal valve caps designed for their specific thread pattern and sealing requirements. Using incorrect caps may result in air leakage or inadequate protection of the valve core.
What causes metal bolt-in valves to leak at the base?
Base leaks usually result from insufficient torque during installation, debris on the sealing surface, or wheel hub corrosion. Proper surface preparation and following torque specifications prevents most base leakage issues.
Are metal bolt-in valves compatible with all tire pressure monitoring systems?
Most metal bolt-in valves are TPMS-compatible, but sensor fitment varies by manufacturer. Verify that the valve type matches your specific TPMS sensor requirements before installation.
What is the maximum pressure rating for metal bolt-in valves?
Standard metal bolt-in valves are rated up to 150-200 PSI depending on the model. Always verify the pressure rating matches your application requirements before installation.
Post time: Jun-12-2026
