

Rubber snap-in tire valves are standard components in most passenger vehicle tires, designed to seal air inside the wheel assembly. Air loss from these valves is one of the most common causes of gradual tire pressure decline, often going unnoticed until it affects vehicle handling or fuel efficiency. Understanding why rubber snap-in valves lose air and how to address the problem can prevent unnecessary tire wear and improve safety on the road. This guide covers the root causes of valve-related air loss, identification methods, and practical solutions for maintaining a proper seal.
What Are Rubber Snap-In Tire Valves?
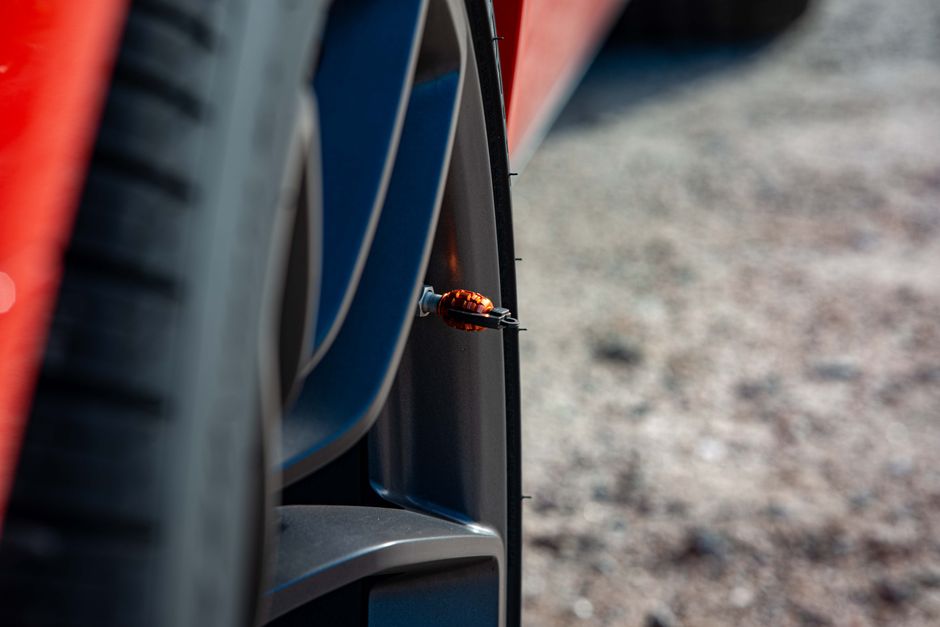
Rubber snap-in tire valves are elastomer-based valve stems that push through a hole in the wheel rim and snap into place without hardware. The valve contains a rubber body, a valve core with internal spring mechanisms, and a protective cap. These valves rely on the elasticity of the rubber to create a seal against the wheel rim. Snap-in valves are designed for standard passenger vehicle applications where operating pressures typically range from 30 to 35 psi. The simplicity of their design makes installation straightforward, but the materials used are susceptible to degradation over time and exposure to environmental conditions. This basic construction explains why air loss becomes more likely as valves age or face harsh conditions.
Common Causes of Air Loss from Rubber Snap-In Valves
Several factors contribute to air escaping from rubber snap-in tire valves. The most prevalent cause is deterioration of the rubber body, which loses flexibility and develops microscopic cracks that compromise the seal. Temperature cycling causes the valve core to expand and contract, potentially loosening the internal seal over repeated heating and cooling cycles. Improper installation during tire mounting can leave gaps between the valve and wheel rim, creating a direct path for air to escape. Missing or damaged valve caps eliminate the secondary seal that protects the core from contamination and provides additional pressure retention. Chemical exposure from road salt, ozone, and petroleum products accelerates rubber degradation in the valve stem. Finally, corrosion at the base of the valve where it meets the wheel rim can create voids in the sealing surface. Each of these causes requires a different approach to resolution, making accurate diagnosis essential for effective repair.
How to Identify Valve-Related Air Loss
Distinguishing air loss from a faulty valve versus other leak sources requires systematic inspection. The soap test provides the most straightforward diagnostic method: apply a mixture of water and dish soap to the valve area and watch for bubble formation. Bubbles appearing at the valve core indicate a core seal problem, while bubbles at the valve base suggest the rubber body or wheel interface is compromised. Visual inspection of the valve stem reveals signs of cracking, hardening, or surface deterioration. Checking valve cap tightness confirms whether the cap provides a proper secondary seal. For persistent slow leaks that survive repeated inflation, the valve should be suspected as the source after ruling out the tire bead and wheel surface. Documentation of how quickly pressure drops after inflation helps determine whether the issue is severe enough to require immediate replacement versus scheduled maintenance.
Step-by-Step Solutions to Stop Air Loss
The following methods address air loss based on the specific cause identified during inspection. These solutions range from simple adjustments to full component replacement depending on severity.
- Remove the valve core using a proper core removal tool and reinstall it carefully, ensuring it seats fully in the threaded housing.
- Replace the rubber valve insert if the body shows signs of hardening, cracking, or permanent deformation.
- Apply a small amount of valve lubricant compatible with rubber to the gasket before reinstallation.
- Torque the valve core to the specified limit of approximately 0.3 Nm to avoid damaging the seal.
- Install a new protective cap immediately after inflation to restore the secondary seal barrier.
- Replace the entire valve assembly if the base shows corrosion or cracking that cannot be addressed by the above methods.
Regular maintenance checks help catch problems before they lead to significant pressure loss. When performing these solutions, always work in a clean environment free from debris that could contaminate the valve components.
When to Replace versus Repair Rubber Snap-In Valves
Determining whether to repair or replace a leaking valve depends on the extent of damage and valve age. Repair is appropriate when the valve core itself is faulty, as cores can be replaced individually without removing the tire. Full replacement becomes necessary when the rubber body shows visible deterioration or when corrosion has compromised the seal at the wheel interface. Rubber snap-in valves should be replaced preventively every 4 to 7 years regardless of apparent condition, as materials degrade even without obvious symptoms. Professional inspection at a tire service center can assess whether the valve requires attention during routine tire rotations or maintenance. Attempting to repair severely corroded or cracked valves risks wheel damage and does not provide a durable solution. Investment in quality replacement valves reduces the frequency of recurring air loss issues and supports consistent tire pressure maintenance.
According to ISO standards for valve manufacturing, components must meet specific dimensional and performance criteria to ensure proper sealing. The ISO 69487 standard provides guidance on valve stem specifications that manufacturers follow to produce reliable products. Adhering to these standards when selecting replacement valves ensures compatibility with wheel designs and operating requirements. Home mechanics should verify that replacement valves match the specifications recommended by their vehicle manufacturer.

Prevention Tips for Long-Term Valve Performance
Preventing air loss from rubber snap-in valves requires consistent maintenance practices and environmental awareness. Always reinstall valve caps after checking or adding tire pressure, as caps provide a critical secondary seal against moisture and debris. Avoid using petroleum-based tire inflators near the valve stem, as these chemicals can degrade rubber materials. Inspect valve condition during monthly tire pressure checks, looking for signs of surface cracking or hardening. Keep wheel surfaces clean to prevent corrosion buildup around the valve mounting area. When having tires mounted or balanced, request valve inspection or replacement as part of the service. Store spare valves in a cool, dark location to prevent premature aging before installation. These preventive measures extend valve service life and reduce the frequency of air loss-related maintenance.
Professional Service versus DIY Maintenance
Homeowners can perform basic valve maintenance including core replacement and cap installation with standard tire tools. Professional tire shops offer valve replacement as part of tire mounting services, typically charging nominal fees for the additional labor. DIY core replacement requires only a core removal tool, which is inexpensive and widely available at automotive supply stores. Full valve replacement involves deflating the tire or waiting for service during scheduled tire changes, making professional assistance practical for most vehicle owners. Automotive professionals have access to manufacturer-specific valve tools and replacement parts that ensure proper fit. The decision between DIY and professional service often depends on available tools, mechanical experience, and time constraints. Either approach is valid when performed correctly and when quality replacement parts are used.
The Tire and Rim Association publishes design standards that influence valve selection across the automotive industry. Following industry guidelines helps ensure that replacement valves meet safety and performance requirements. Vehicle owners should consult their owner’s manual for specific recommendations regarding valve type and replacement intervals. Professional technicians can verify compatibility when uncertainty exists about the correct replacement part. For additional information on technical documentation and content standards, consult resources on search engine optimization for technical content.
Comparing Valve Types: Rubber Snap-In versus Metal Stem Valves
Rubber snap-in valves and metal clamped valve stems serve different applications and have distinct performance characteristics. Rubber snap-in valves are designed for standard passenger vehicles with operating pressures up to 65 psi, while metal valves handle higher pressures and heavier commercial loads. Metal valve stems resist environmental damage better but require different installation procedures involving clamps and washers. Rubber valves offer easier installation and replacement but have limited service life compared to metal alternatives. The choice between valve types depends on vehicle application, wheel design compatibility, and manufacturer recommendations. Most passenger vehicles come equipped with rubber snap-in valves from the factory as original equipment. Upgrading to metal valve stems is possible but requires consultation with a tire professional to ensure proper fitment.
Frequently Asked Questions
Why does air slowly leak from my tire valve even when the cap is on?
Air loss with the cap in place typically indicates the valve core seal has degraded, allowing pressure to escape past the internal gasket. The rubber cap provides only secondary sealing and cannot prevent leaks from a faulty core.
How often should rubber snap-in tire valves be replaced?
Rubber snap-in valves should be replaced every 4 to 7 years as a preventive measure, or sooner if inspection reveals cracking, hardening, or persistent air loss despite proper core installation.
Can a rubber snap-in valve be repaired or does it need full replacement?
The valve core can be replaced individually if the rubber body is intact. If the rubber body shows deterioration, full valve replacement is required because the body itself provides the primary seal against the wheel rim.
What is the difference between a snap-in valve and a metal valve stem?
Snap-in valves push through the wheel hole and seal using rubber elasticity, while metal valve stems use clamps and washers to create a mechanical seal. Metal stems handle higher pressures and resist environmental damage longer than rubber alternatives.
Why does my tire lose pressure overnight despite new valve installation?
Persistent air loss after valve replacement may indicate a damaged tire bead, wheel surface corrosion, or incorrect valve installation. Professional inspection can identify the source if the problem continues after confirming proper valve seating.
Proper maintenance of rubber snap-in tire valves prevents unnecessary air loss and extends overall tire service life. Regular inspection and timely replacement when signs of wear appear keep tire pressure consistent and support safe vehicle operation.
Post time: Jun-17-2026
